Have you ever wanted to generate PDF receipts for your Adalo app? With APITemplate and Make, you can easily create and manage PDF receipts with ease.
In this article, we’ll guide you through the process of automatically creating PDF order receipts for an Adola ordering app. PDF generation will be handled by APITemplate, which we are using in conjunction with Make.com.
The Make.com workflow is watching for new orders, and whenever a new order is placed, the Platform will send a request to create a PDF order receipt. The generated receipt will be updated in the Adola database.
Deep dive: Make.com + APITemplate integration →
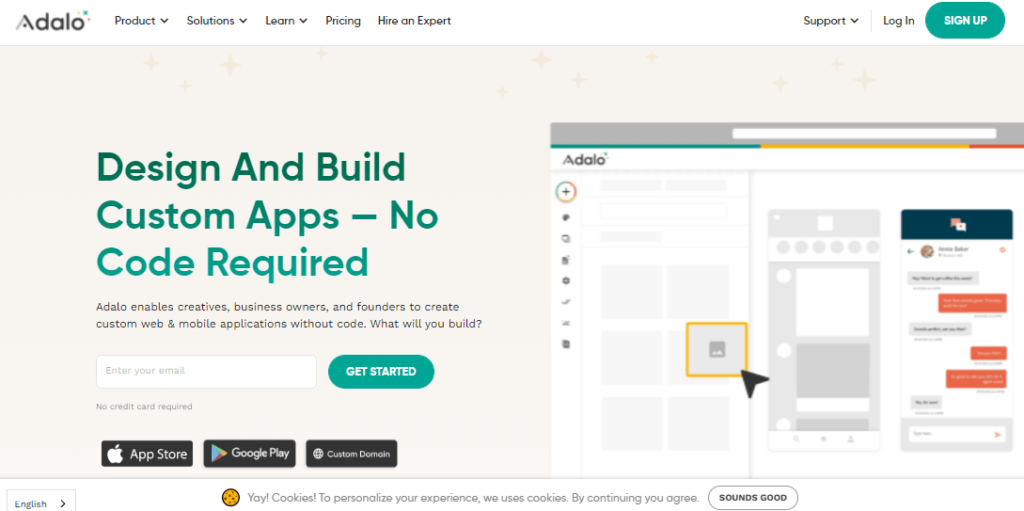
What is Adalo?
Adalo is a no-code app-building platform that allows you to easily create and manage native mobile apps and web apps without any coding.
With this app, you can quickly create and manage apps with easy-to-use drag-and-drop tools and a powerful design editor. Adalo also integrates with popular services like Zapier and Make, making it easy to automate processes and create powerful workflows for your app. It also provides pre-built templates that you can customize to create your own app.
The benefits of using Adalo:
- Easy App Creation: It makes it easy to create apps without any coding.
- Powerful Design Editor: It provides powerful design tools to easily create and manage the look and feel of your app.
- Automation: You can easily integrate with popular services like Zapier and Make to create powerful workflows for your app.
- Pre-Built Templates: Provides pre-built templates that you can customize to create your own app.
✔ Works with API & no-code workflows
✔ No rendering issues
The Steps of Creating PDFs with Adola
The workflow is structured in three steps.
- The first step is to create an ordering app with Adalo.
- Secondly, we create a PDF template for the PDF receipt with APITemplate
- Lastly, we use Make.com to watch for new orders and create PDF receipts. The generated PDF receipts will be updated in Adola’s database.
See other no-code PDF automation platforms →
Step 1: Building an Ordering App
1. Go to the website and click on the “Sign Up” button in the top right corner.
2. Fill out the form to create your account. This will include entering your email address and creating a password.
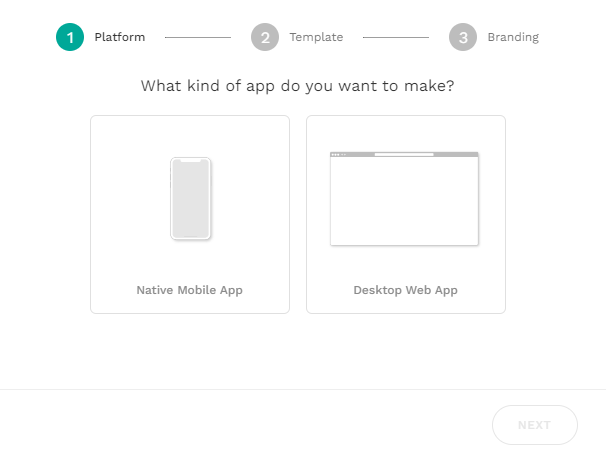
3. Once you have created your account, you will be prompted to choose between the web app and the mobile app. When choosing between the web app and the mobile app on Adalo, it’s important to consider the type of app you want to create and the platform it will be used on. The web app is designed for creating web-based applications that can be accessed through a web browser, while the mobile app is designed for creating native mobile apps that can be installed on a device.
For this example, we will choose the web app.
4. After selecting the web app, you will be presented with a range of pre-built templates to choose from. For this example, we will choose the “Ordering” template. These templates provide a starting point for your app and can save you time by providing a basic structure and features that you can build upon. You can choose a template that closely matches the type of app you want to create, or you can customize it to fit your needs.
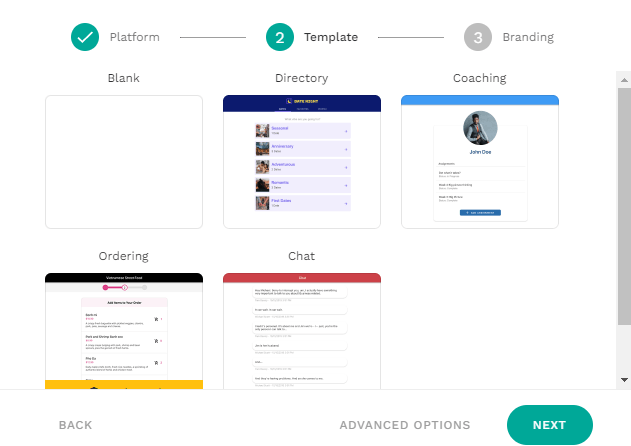
It is also possible to create a web app from scratch on Adalo, although this option is more advanced and may require some coding skills. If you have specific requirements or ideas for your app that cannot be achieved with the pre-built templates or drag-and-drop tools, you can create a custom app using the “Custom” template. This template provides a blank canvas for you to build your app from the ground up.
5. Once you have selected your template, your app will be created. You can then access the database by going to the “Database” tab in the left sidebar.
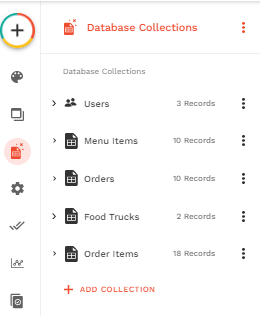
6. Inside the database in Adalo, you will find collections of data that are used to store and organize information for your app. In the Ordering app example, there are five collections: Users, Menu Items, Orders, Order Items, and Food Trucks.
- The Users collection stores information about the users of the app, including their name, email address, and other details.
- The Menu Items collection stores information about the menu items that are available for ordering, including the name, price, and description of each item.
- The Orders collection stores information about the orders that have been placed through the app, including the date and time the order was placed, the items that were ordered, and the total cost of the order.
- The Order Items collection stores information about the individual items that are included in each order, including the name, price, and quantity of each item.
- The Food Trucks collection stores information about the food trucks that are available for ordering through the app, including the location, menu items, and operating hours of each truck.
These collections are used to store and organize the data for your app and can be accessed and modified through the database tab in the left sidebar. You can use the collections to add, edit, and delete data as needed, or to create custom queries and views to display the data in a specific way.
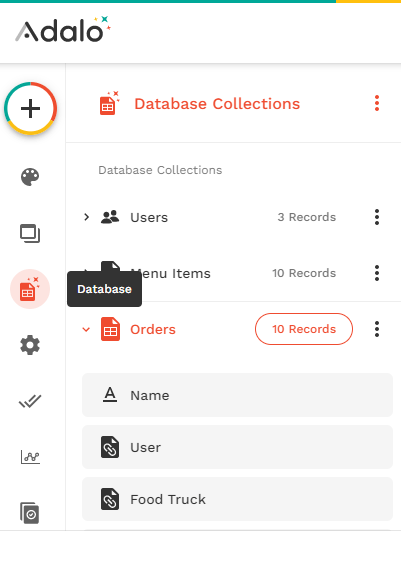
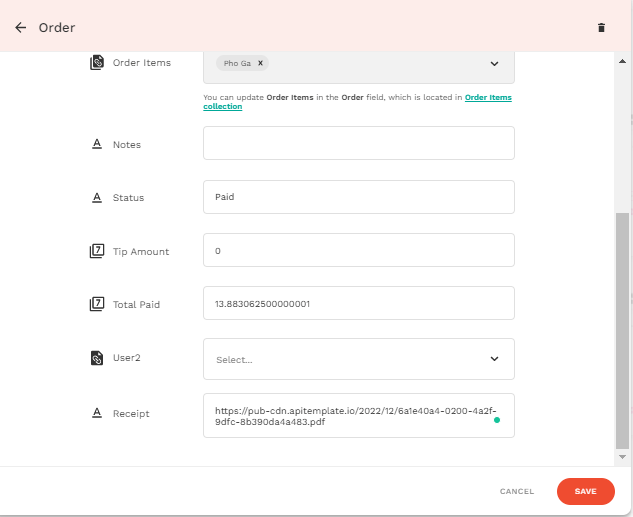
7. In the tutorials for the Ordering app, we will mainly be using the Orders collection to manage and track orders placed through the app. This collection contains several properties, including the name of the order, the pick-up time, notes, and status. It also contains relationship properties that link the order to the user and food truck that are associated with it.
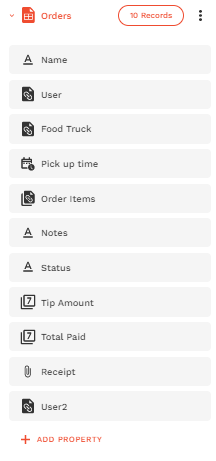
To add additional information to the Orders collection, we can click on the “Add a property” button at the bottom of the collection and create a new property. For example, we may want to add a property for the receipt for each order. To do this, we can click on the “Add a property” button and name the property “Receipt“. We can then select the “Text” data type and use this property to store a link to the PDF receipt for the order. This will allow us to easily access and view the receipt for each order through the app.
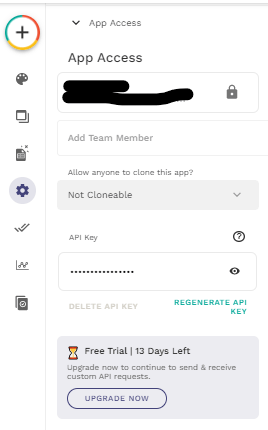
8. To access and manage the data in your app, you will need to use the API key and App ID. These unique identifiers allow you to connect to the Adalo API and access the data in your app’s database.
To get the API key and App ID, you will need to go to the Settings > App Access tab in the left sidebar. Here, you will find the API key listed at the top of the page. You can use these values to access the data in your Make.com Scenario.
In addition to the API key, you will also need the Collection ID and App ID to access specific collections in the database. To get the Collection ID, you can click on the three dots next to the collection name and then go to the “API documentation” page. Here, you will find the Collection ID and App ID listed at the top of the page. You can use this value to access and manage the data in the collection through the API.
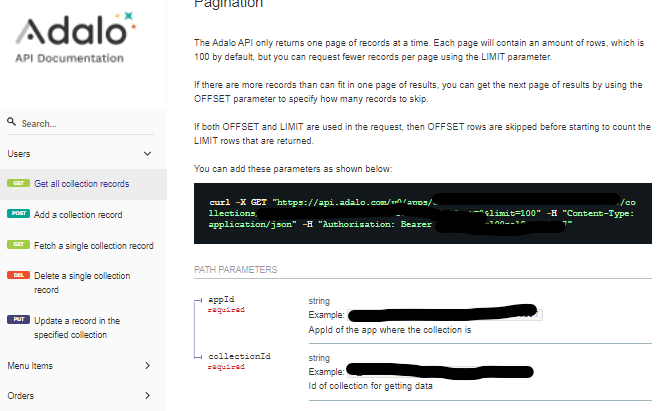
Once you have the API key, App ID, and Collection ID, you can use them to connect to the Adalo API and access the data in your Make.com scenario.
Step 2: Setting up a PDF Template
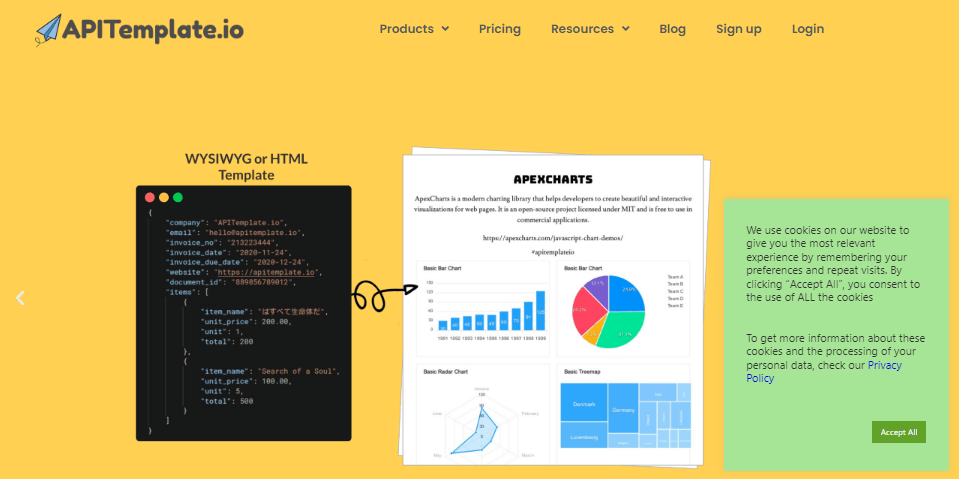
APITemplate is a great tool for creating PDF templates. With its advanced drag & drop editor, you can design PDF templates in any browser and generate pixel-perfect PDF documents from reusable templates and data with no-code platforms or REST API. This makes it easy to generate PDF receipts for Adalo.
Here’s a step-by-step guide to creating a free account on APITemplate and creating a new PDF template:
- Go to the website and click on the “Sign Up” button in the top right corner.
- Fill out the form to create your account. This will include entering your email address and creating a password.
- Once you have created your account, you will be redirected to the dashboard.
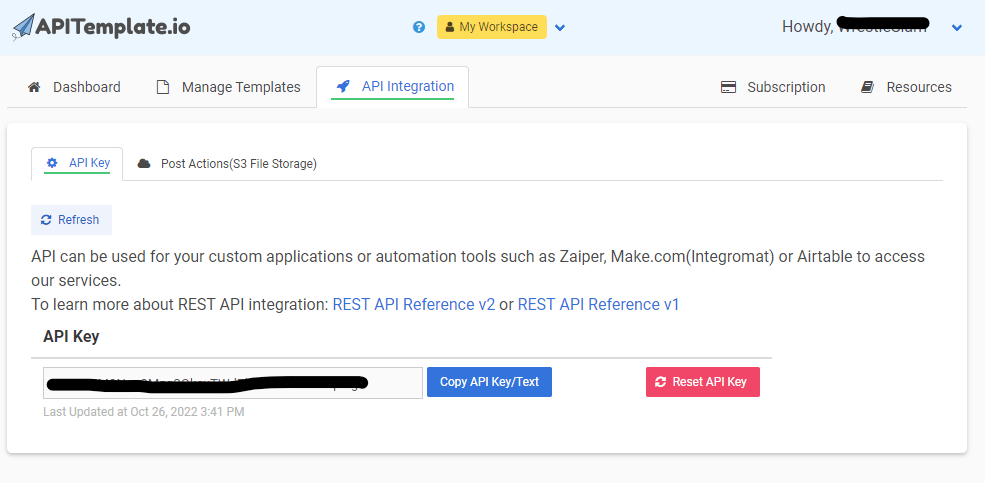
- To get started, go to the “API Integration” tab in the navigation bar and copy the API key. You will need this key later to access the API.
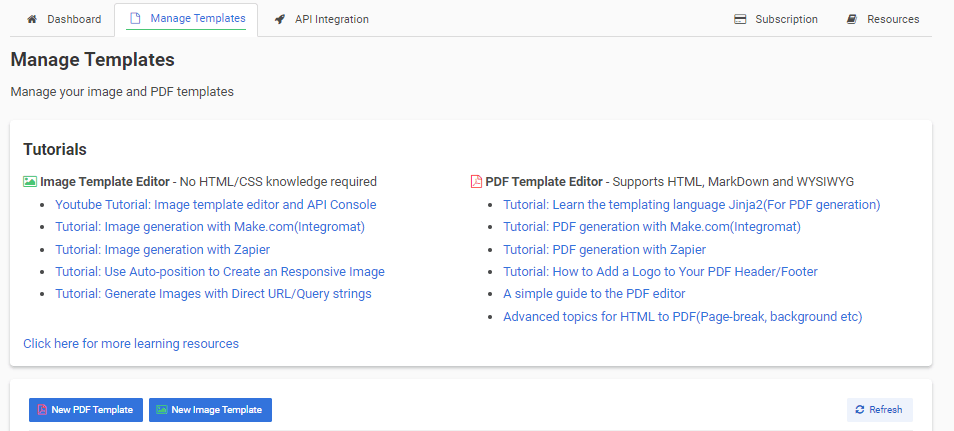
5. To create a new template, go to the “Manage Templates” tab in the navigation bar and click on the “New PDF Template” button.
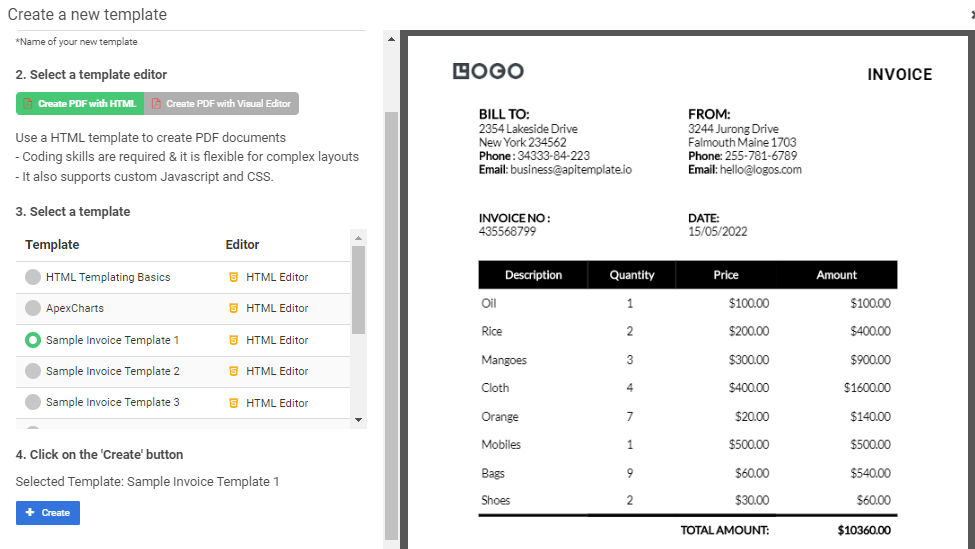
6. Select an invoice template and click on the “Create” button.
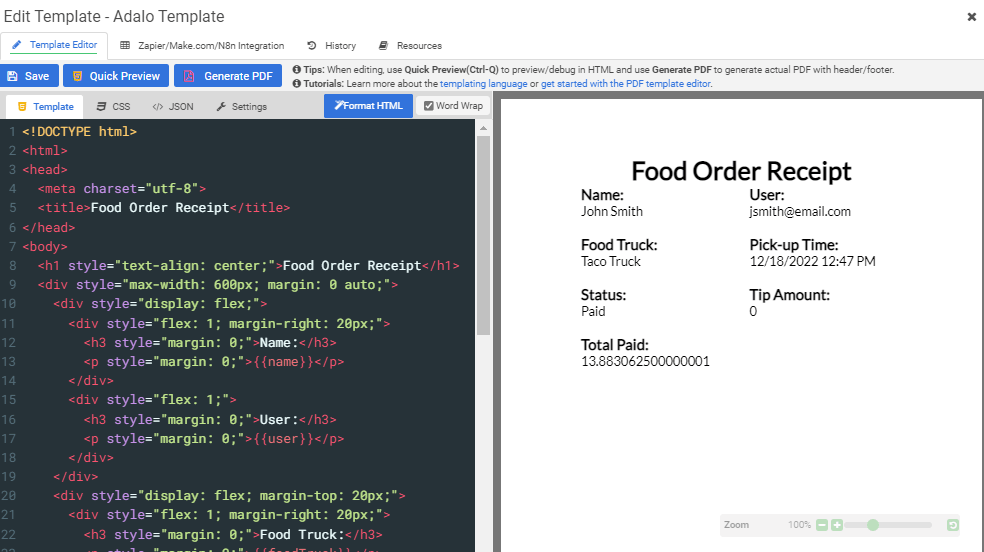
7. To customize the template to match the structure and fields of your Order collection, click on the “Edit” button on the right of the Template name.

8. Add custom HTML code to the template to customize the layout and fields. You can use Adalo data through Make.com to populate the template with the appropriate information.
<!DOCTYPE html>
<html>
<head>
<meta charset="utf-8">
<title>Food Order Receipt</title>
</head>
<body>
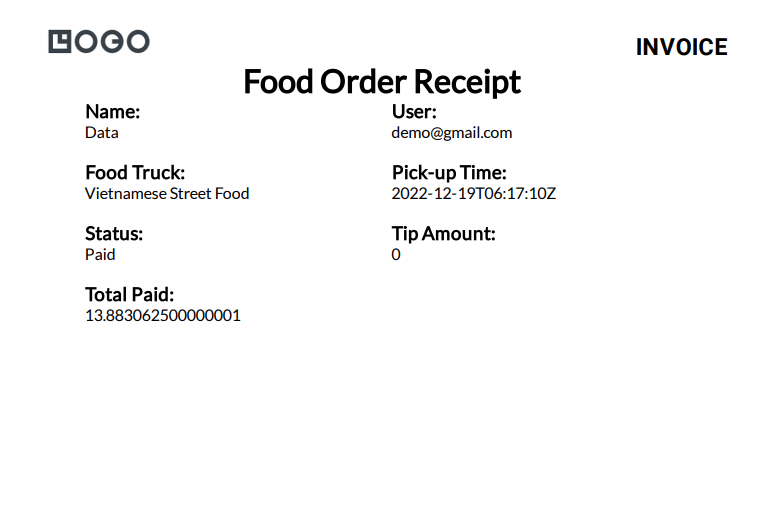
<h1 style="text-align: center;">Food Order Receipt</h1>
<div style="max-width: 600px; margin: 0 auto;">
<div style="display: flex;">
<div style="flex: 1; margin-right: 20px;">
<h3 style="margin: 0;">Name:</h3>
<p style="margin: 0;">{{name}}</p>
</div>
<div style="flex: 1;">
<h3 style="margin: 0;">User:</h3>
<p style="margin: 0;">{{user}}</p>
</div>
</div>
<div style="display: flex; margin-top: 20px;">
<div style="flex: 1; margin-right: 20px;">
<h3 style="margin: 0;">Food Truck:</h3>
<p style="margin: 0;">{{foodTruck}}</p>
</div>
<div style="flex: 1;">
<h3 style="margin: 0;">Pick-up Time:</h3>
<p style="margin: 0;">{{pickupTime}}</p>
</div>
</div>
<div style="display: flex; margin-top: 20px;">
<div style="flex: 1; margin-right: 20px;">
<h3 style="margin: 0;">Status:</h3>
<p style="margin: 0;">{{status}}</p>
</div>
<div style="flex: 1;">
<h3 style="margin: 0;">Tip Amount:</h3>
<p style="margin: 0;">{{tipAmount}}</p>
</div>
</div>
<div style="display: flex; margin-top: 20px;">
<div style="flex: 1; margin-right: 20px;">
<h3 style="margin: 0;">Total Paid:</h3>
<p style="margin: 0;">{{totalPaid}}</p>
</div>
</div>
</div>
</body>
</html>
Sample JSON:
{
  "name": "John Smith",
  "user": "jsmith@email.com",
  "foodTruck": "Taco Truck",
  "pickupTime": "12/18/2022 12:47 PM",
  "status": "Paid",
  "tipAmount": "0",
  "totalPaid": "13.883062500000001"
}
9. Once you have finished customizing the template, you can save your changes and use the APITemplate API to generate PDF documents based on the template and data from your Adalo app. This can be useful for generating invoices, receipts, and other documents for your users.
Now everything is ready and we can start making make.com Scenario.
Step 3: Use Make.com to Create PDF Receipts for New Orders
Make.com is a no-code automation platform that allows you to easily create and manage automated workflows without any coding.
Here’s a step-by-step guide to creating a free account on Make.com and creating a scenario to watch for new orders in your app:
1. Go to the Make.com website and click on the “Sign Up” button in the top right corner. Fill out the form to create your account. This will include entering your email address and creating a password.
- Once you have created your account, you can start creating a scenario by clicking on the “Create a New Scenario” button.
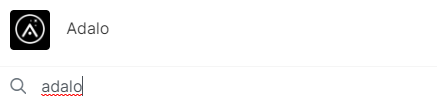
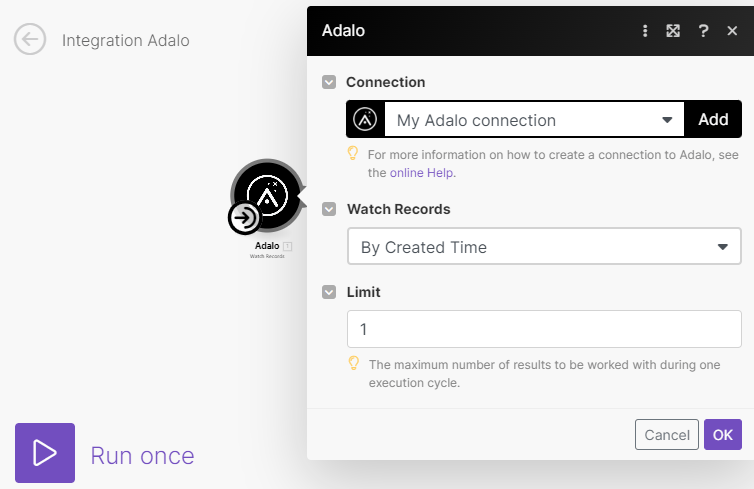
- To add the first module to your scenario, search for the Adalo module and then select the “Watch a Record” action. This module will run every time a new record is added to the database.
4. For authentication, add the API Key, Collection ID (for the Order collection, because we want to watch for new orders), and the App ID. Then, on the “Watch Records” fields, select “By Created time” and set the Limit to 1.
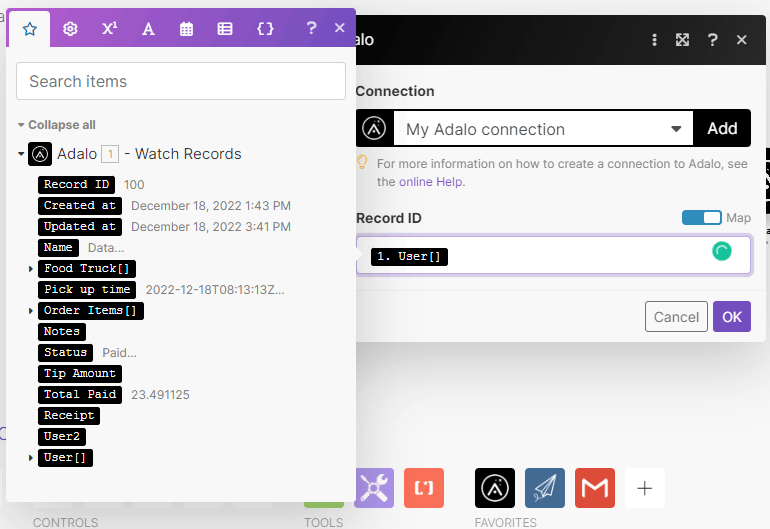
5. To get the user data for each new order, create a new module and search for the module again. This time, select the “Get a Record” action. In the “Get a Record” fields, enter the API Key, Collection ID (for the Users collection), and App ID. Then, enter the ID of the user for which you want to retrieve the data.
6. After getting the user data, create a new module and follow similar steps to get the data for the food truck associated with the order.
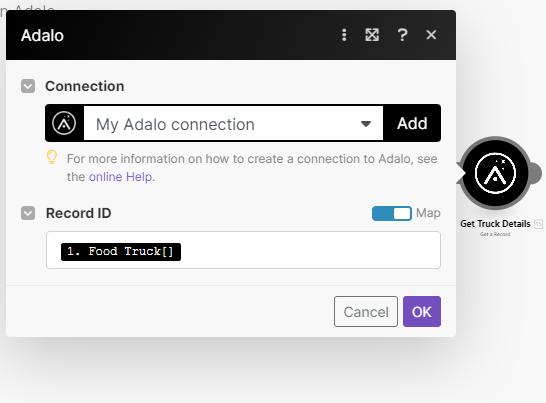
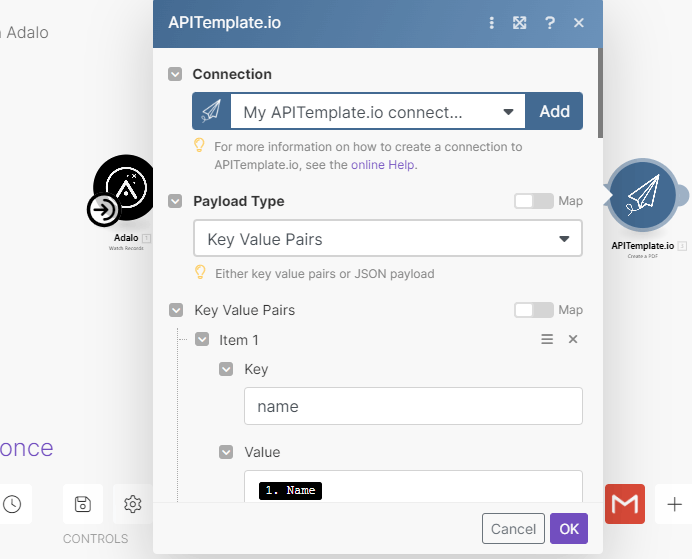
Once you have retrieved the data for the user and food truck, you are ready to create the PDF receipt. To do this, create a new module and search for the module. Then, select the “Create a PDF” action.
On the “Connections” field, enter the API key of your account. In the “Payload type” field, select “Key Value Pairs“. On the “Key-value pairs” section, you can start entering the key and value for each field that you want to include in the PDF receipt. You can use the data retrieved from the previous modules to populate the key-value pairs.
On the “Template ID” field, select the template that you created earlier. Then, click on the “Ok” button to create the PDF receipt. This module will create a link to the PDF receipt that you can use to access and download the document.
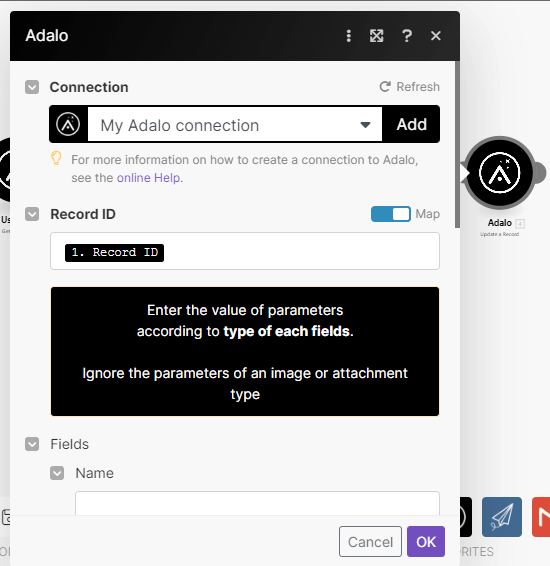
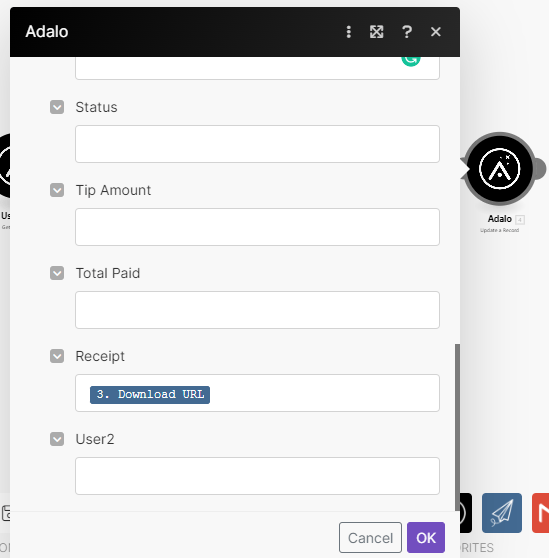
7. To add the link to the Receipt property in the Order collection, create a new module and search for the module. This time, select the “Update a Record” action. In the “Update a Record” fields, enter the API Key, Collection ID (for the Orders collection), and App ID. Then, enter the ID of the order that you want to update and add the link to the Receipt property.
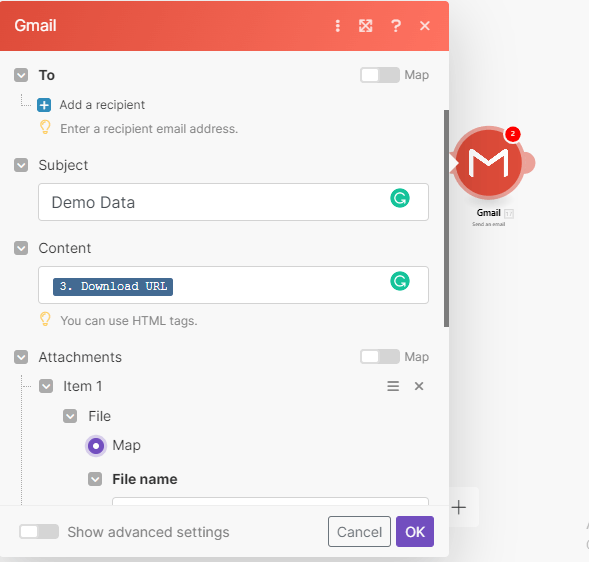
8. Finally, you may want to send the receipt to the user’s email ID through email. To do this, create a new module and search for the Gmail module. Then, select the “Send a Mail” action. In the “Send a Mail” fields, enter the API Key and App ID for your Gmail account and specify the recipient’s email address and the subject and body of the email. You can also attach the PDF receipt to the email by adding the link to the Attachments field.
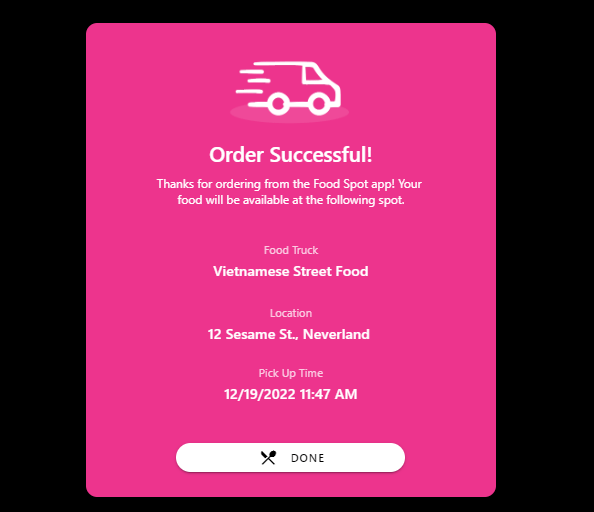
Now, whenever a user orders something from your app, a new record will be added to the Order collection and our Make.com Scenario will run and create a PDF receipt. then it will send the PDF receipt to the User through Email and it will add the PDF link to our Receipt field in the Order collection.
Conclusion
By following these steps, you can create a scenario on Make.com to watch for new orders in your Adalo app, generate a PDF receipt, and send it to the user’s email ID.
You can customize the scenario to fit your specific needs and use it to automate tasks and processes in your app.