Introduction
Automation is essential for any business to complete tasks faster and with accuracy. If you are looking for a survey form automation, this guide will help you through it.
Positive feedback is pivotal for your brand’s reputation as it attracts more customers to your organization. This feedback acts as a positive signal for customers, and they are the answer to the questions — “Why should I purchase from you?”
Collecting feedback and sharing it with your audiences can be a time-consuming task; why not fully automate it? Yes, it’s possible. With Startquestion’s integration with APITemplate.io, you can automate your feedback collection and sharing, right from the start to the end.
This guide will look at how to automatically create a survey using Startquestion, convert that survey into attractive graphics using APITemplate.io, and share it on your Facebook page with Zapier.
The end goal of this tutorial is to share positive feedback whenever you receive a Startquestion submission.
Let’s jump right in!
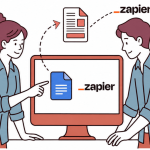
The following is the overview of the workflow we are going to build with Zapier.

Step 1: Startquestion form
Startquestion is a powerful web-based tool to collect information, orders, evaluate employees, and more. In this section, we are going to create a survey form on Startquestion to collect user feedback.
i. Create a survey
Click on the Create a New Survey button. Next, click on the Add a Text Block option and write briefly describe what is the survey about.
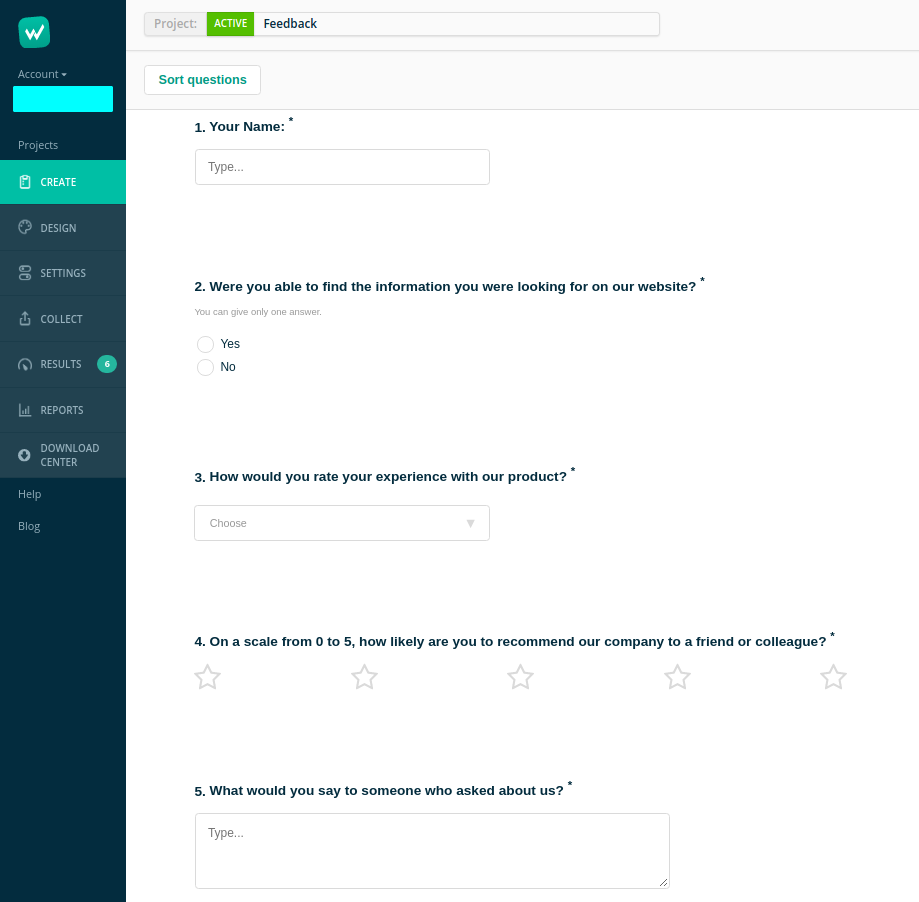
ii. Start adding questions
To create questions, click on the Open-ended option to add questions. Then, start adding questions and click on Add questions of text button to add more questions.

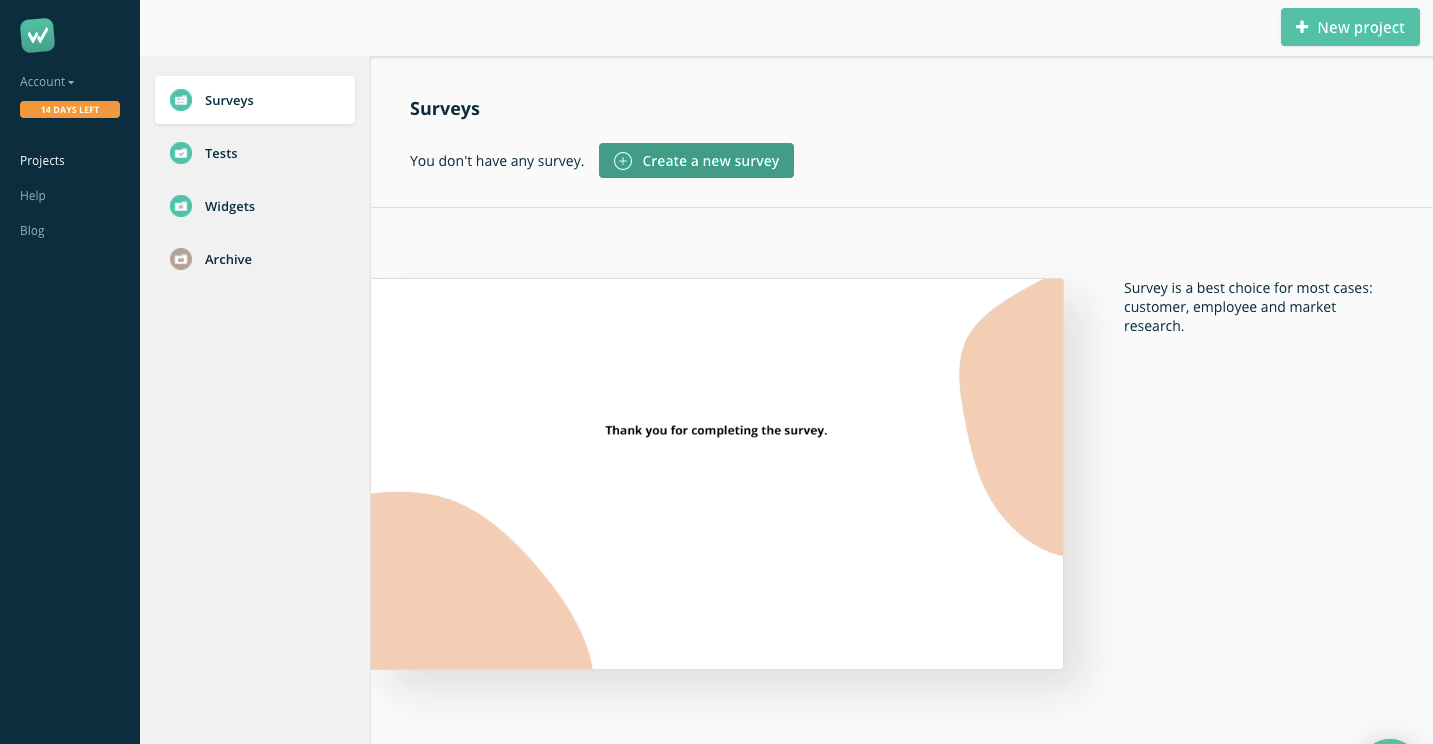
iii. Preview the form
Once you added all your questions, click on the Preview button and this is how it looks like:
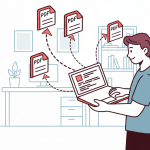
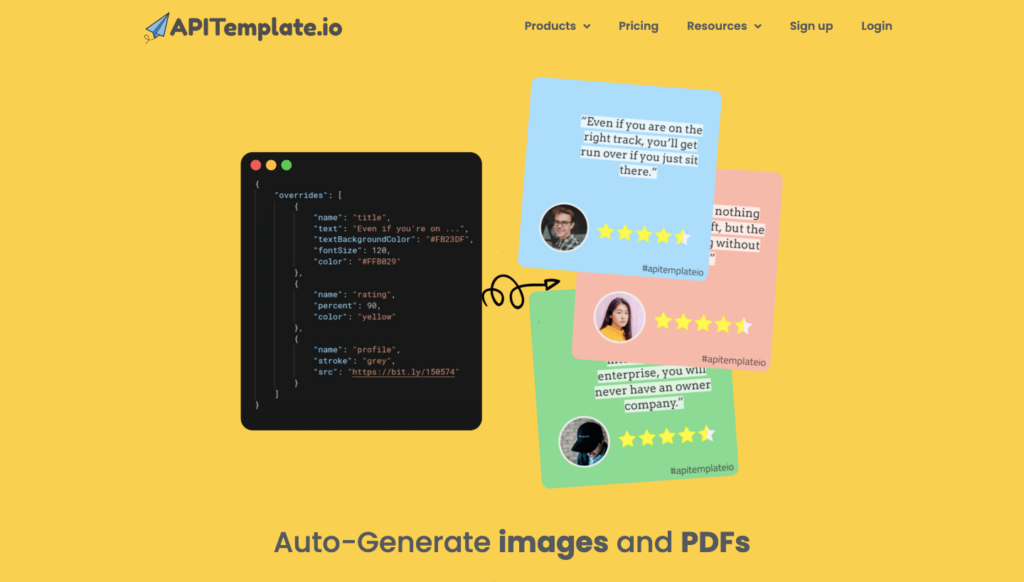
Step 2: Design an image template
APITemplate.io integrates with Zapier, our services allow you to create social images based on reusable templates. In this section, we are going to create an image template with a rating component and text components for the feedback image.
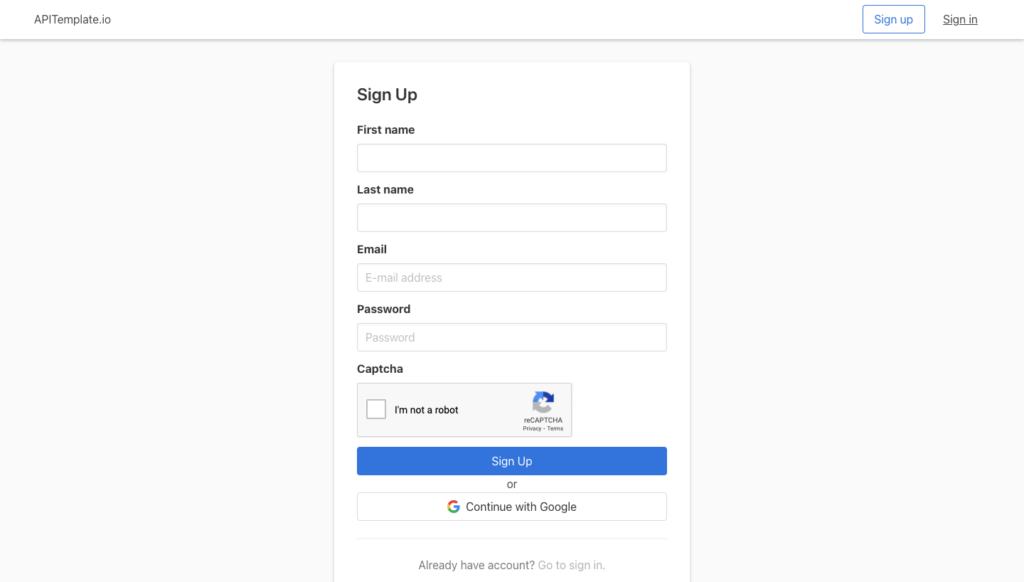
i. Sign up and email confirmation
First, sign up or sign in to your account. For demonstration purposes, we will first sign up for an account with APITemplate.io.
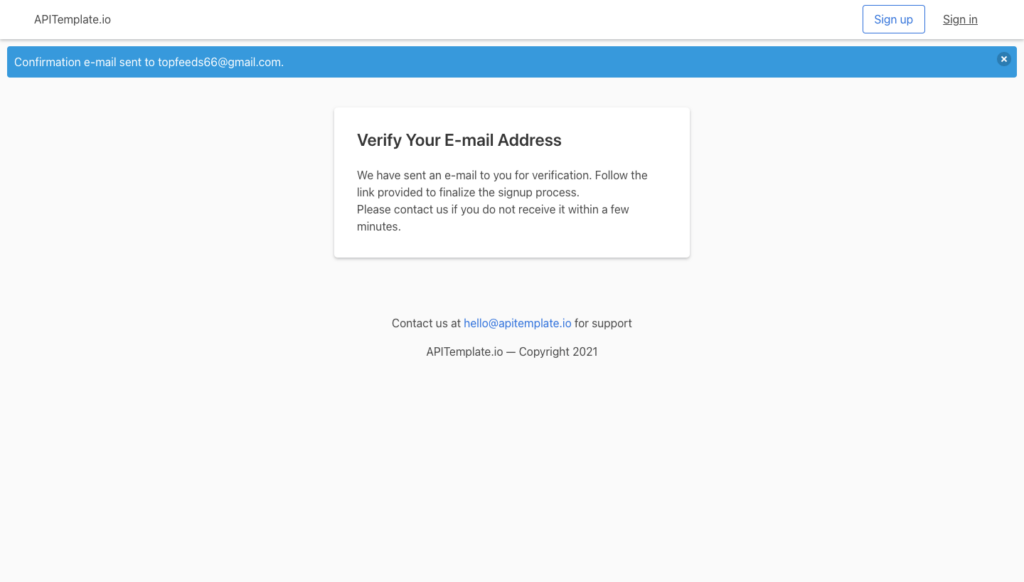
Once you’ve signed up, a confirmation email will be sent to your email account. It requires you to click on the verification link in the confirmation email in order to proceed.
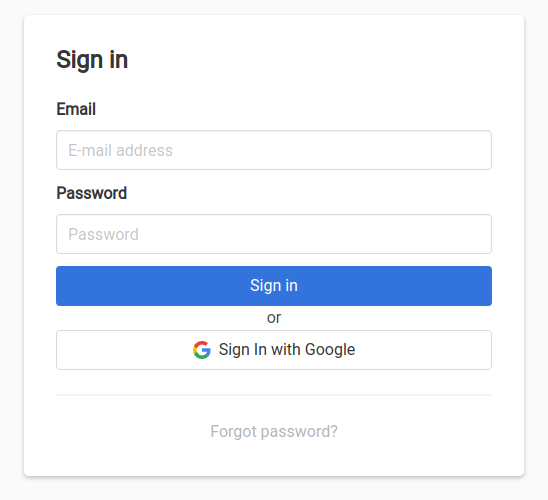
ii. Sign In
Upon your email has been verified, sign in to your account at https://app.apitemplate.io/accounts/login/.
Enter your email and password and click on the Sign in button.
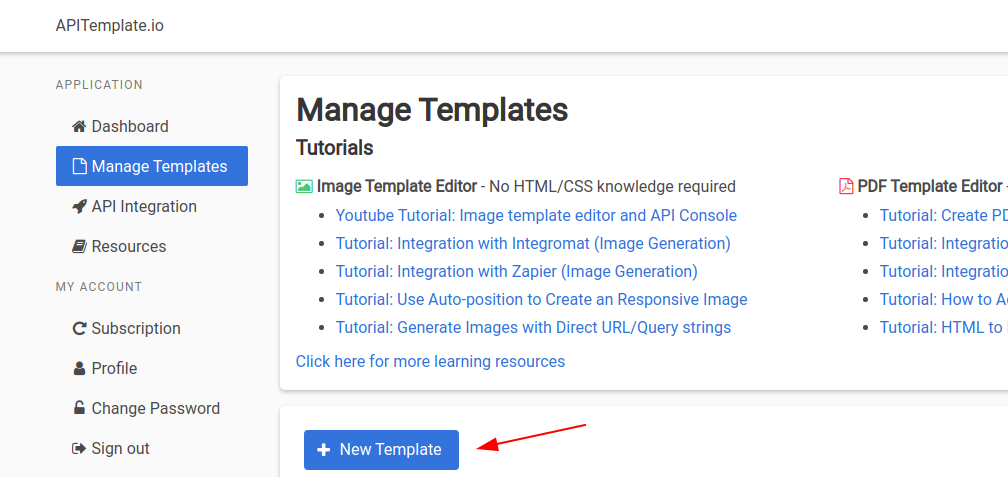
iii. Go to Manage Templates
Next, click on the Manage Templates menu item on the left menu. Then, click on the New Template button to create a new template.
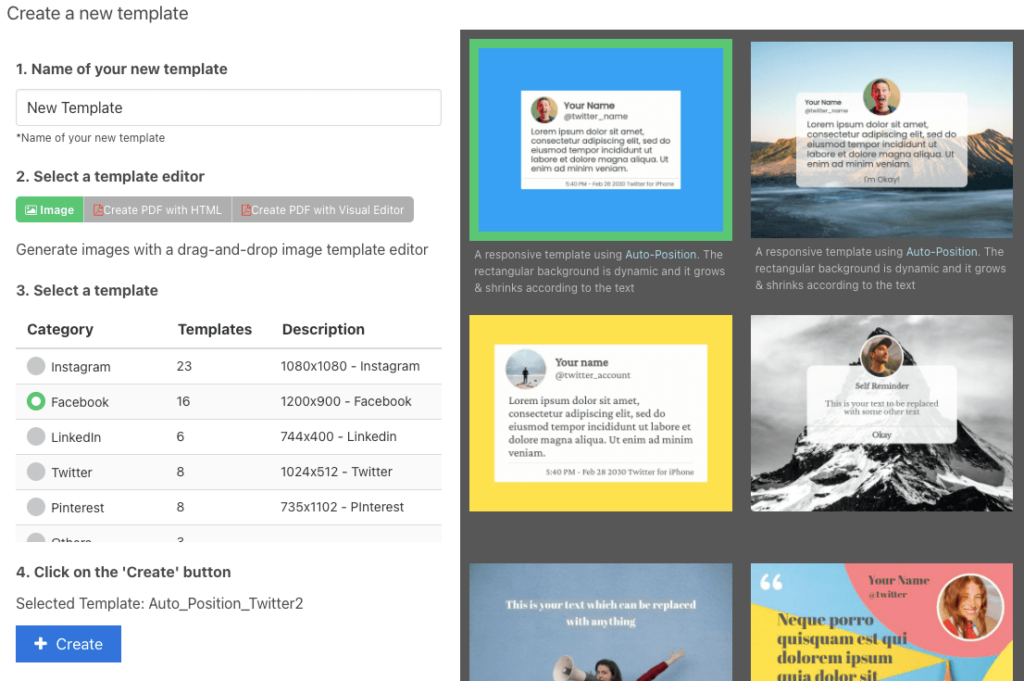
iv. Create an image template
The first step is to name your new template. You may give your template a descriptive name.
Then, click on Image under Select a template editor to select the image editor for your template.
In the third step, select Facebook in the Select a template section to display all the Facebook templates. On the right are all the prebuilt Facebook image templates. Once a template is selected, click on the Create button to create a new template.
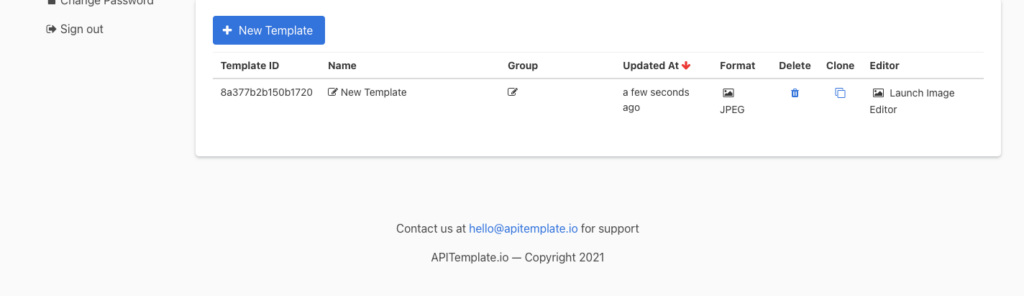
v. Launch the image editor
On the Manage Template page, click on the Launch Image Editor button to launch the image editor.
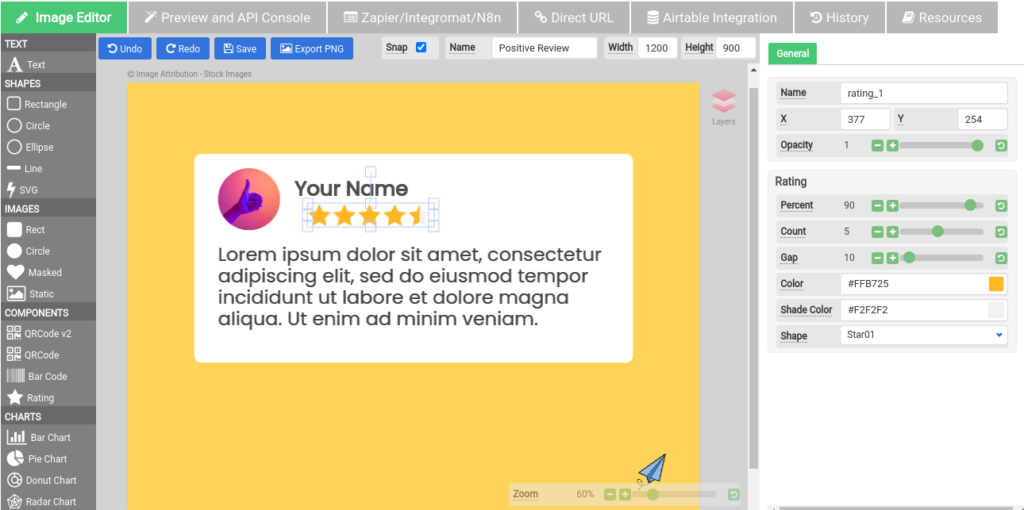
vi. Design an image template
In the image editor, create components by clicking the icons on the left toolbar. In this tutorial, we will have to create the components as follows:
rating_1 – Rating component
text_quote – Text Component
text_name – Text Component
You may modify the styles such as background colors, font sizes in the property panel on the right.
Step 3: Setup the automation with Zapier
Zapier is an automation platform that lets us easily create workflows that involve apps and services. It’s the glue that helps to connect Startquestion, APITemplate.io, and Facebook. In the section, we are going to use it to automate the workflow for us.
i. Sign-up with Zapier/login
If you don’t have a Zapier account, head over to zapier.com to sign up for an account.
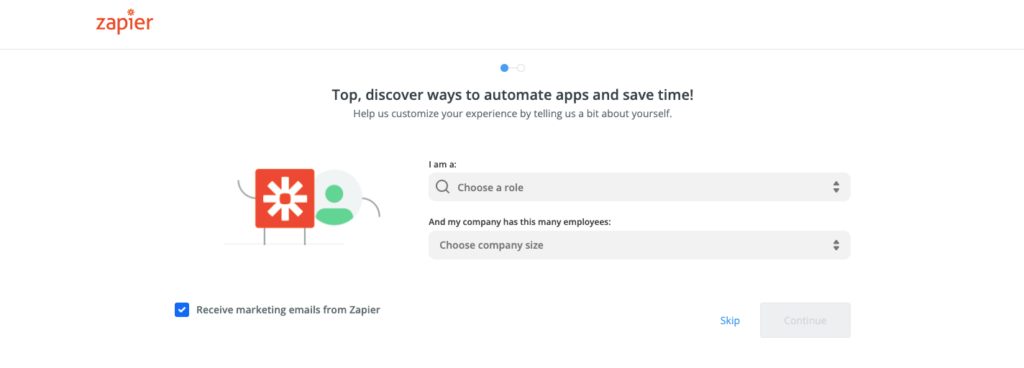
Select your current role and the size of your organization. Once you have selected these, hit the Continue button.
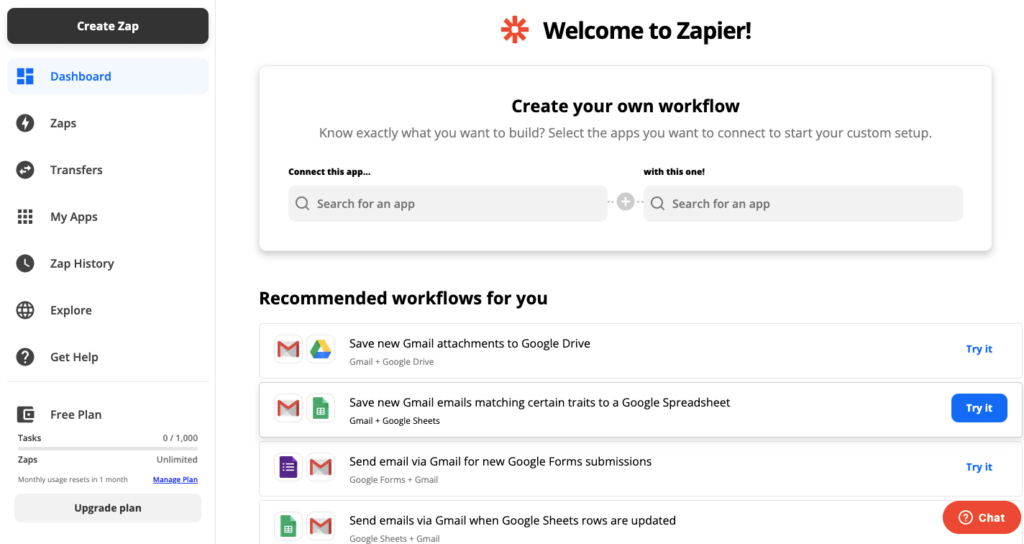
ii. Create a Zap
To create a flow, click on the Create Zap button on the upper left.
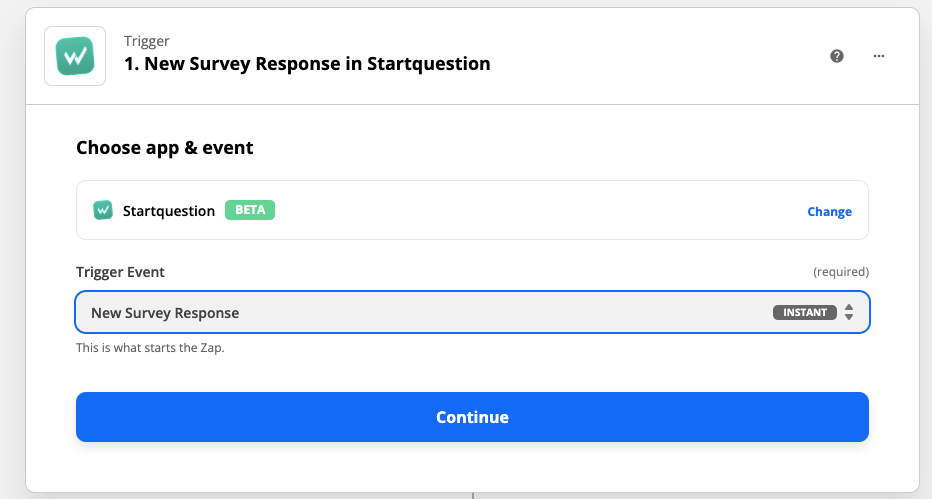
iii. Add a Startquestion trigger
To begin with, create a trigger and search for Startquestion in the App Event.
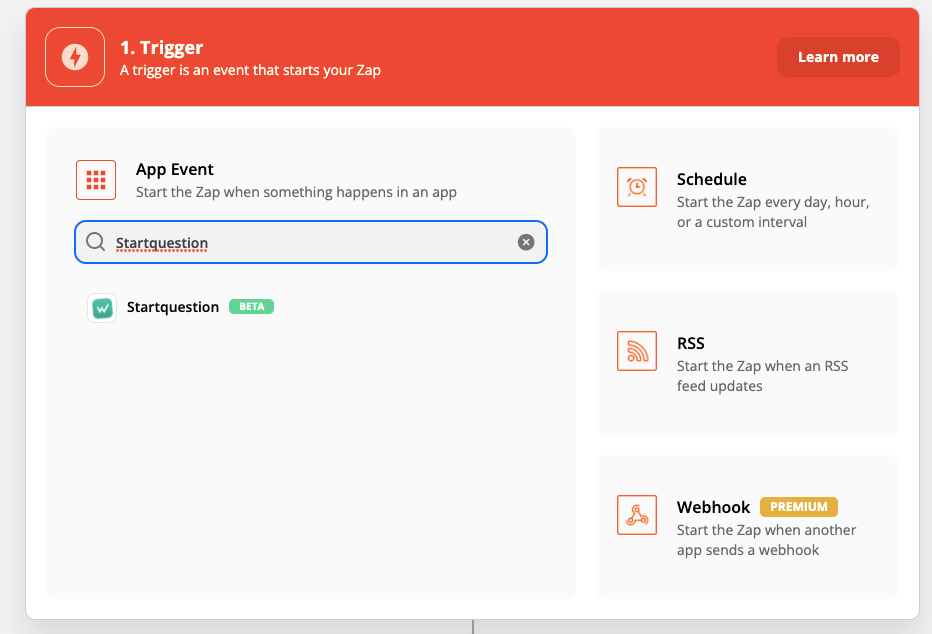
Next, select New Survey Response from the Trigger Event drop-down:
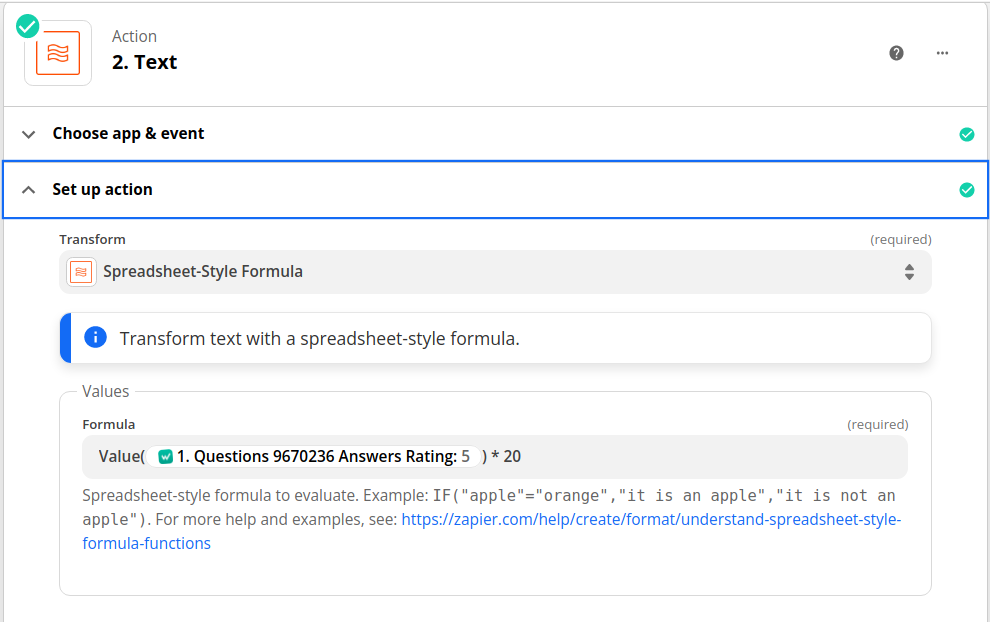
iv. Create an action for rating conversion
Subsequently, create an action event to convert Startquestion’s rating. For this, select Formatter by Zapier and select Text in the Action Event.
APITemplate’s rating component accepts only percentage(0-100) and we need to convert StartQuestion’s rating(on a scale of 1-5) by multiplying 20.
In the Set up action, select Spreadsheet-Style Formula and enter the formula as follows:
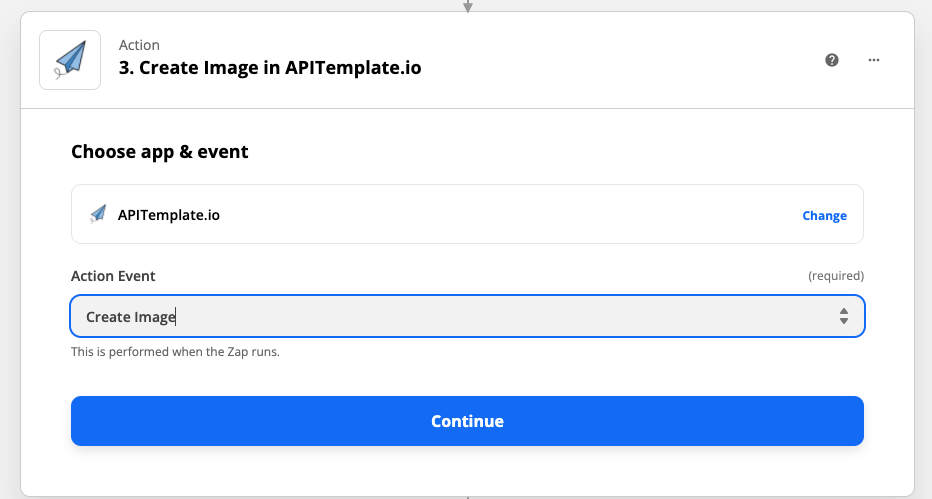
v. Create an action for APITemplate.io
Search for APITemplete.io and then select Create Image in the Action Event. Hit Continue.
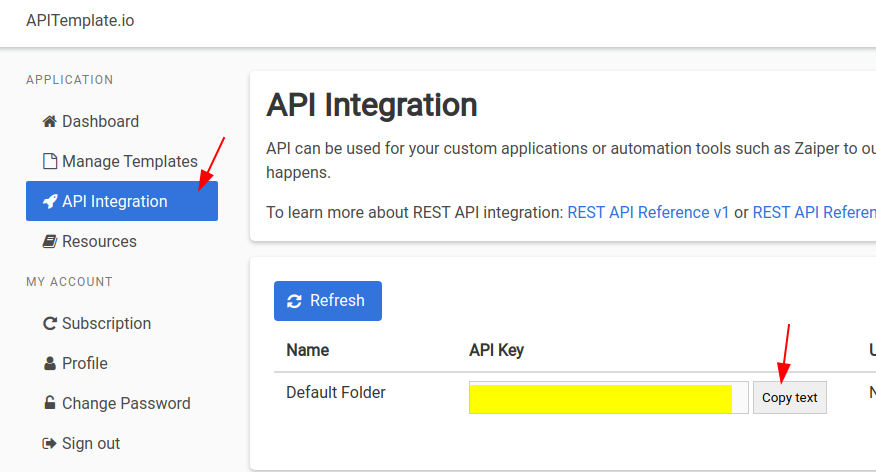
Click on Sign in to APITemplate.io, it will prompt you for an API key.

In order to access APITemplate.io, you need to copy the API key from APITemplate.io and paste it to Zapier.
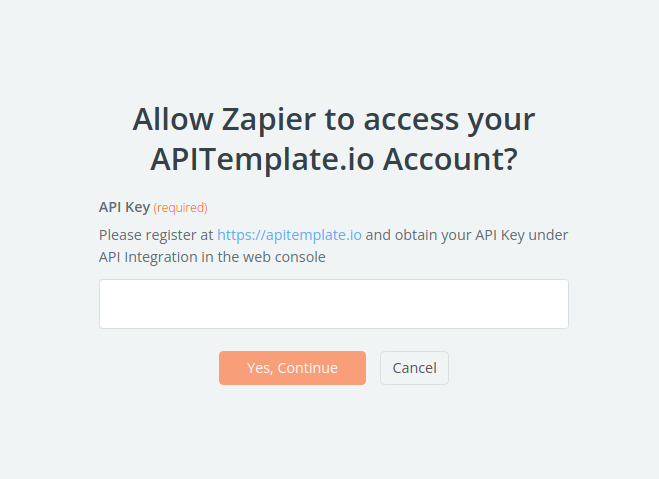
Head over to APITemplate.io and click on the API Integration on the left menu. Copy the API key and paste it into the Zapier above. Then, click on Yes, Continue button.
Once you have entered the API Key, select the account you want to integrate and click on the Continue button.
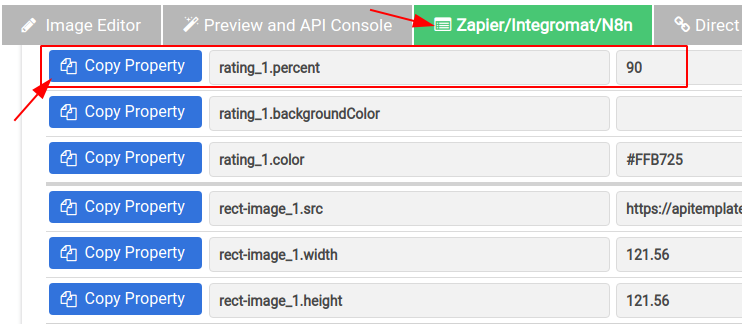
The next step is to set up the action. Select the template that was created in APITemplate.io, and in the Overrides section enter the keys and values you want to override. The followings are the keys that we going to replace with the data from Startquestion:
rating_1.percent is to override the rating value for the rating component
text_quote.text is the text value of the customer’s comment
text_name.text is the name of the person who participates in the survey

All the keys are available in your APItemplate’s image editor and under Zapier/Integromat/N8n tab. For example, to override the property percent of the rating_1(Rating Component), just click on the Copy Property and paste the key over to the key field on Zapier.
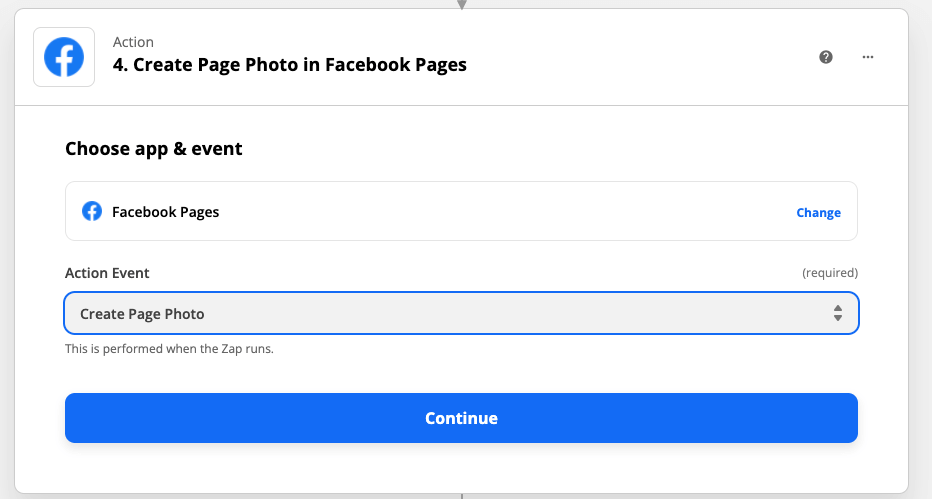
vi. Create a facebook action
The next step is to create an action and share the generated image on your Facebook page. Search for Facebook Pages and enter Create Page Photo for the Action Event. Click on the button Continue to configure the action.
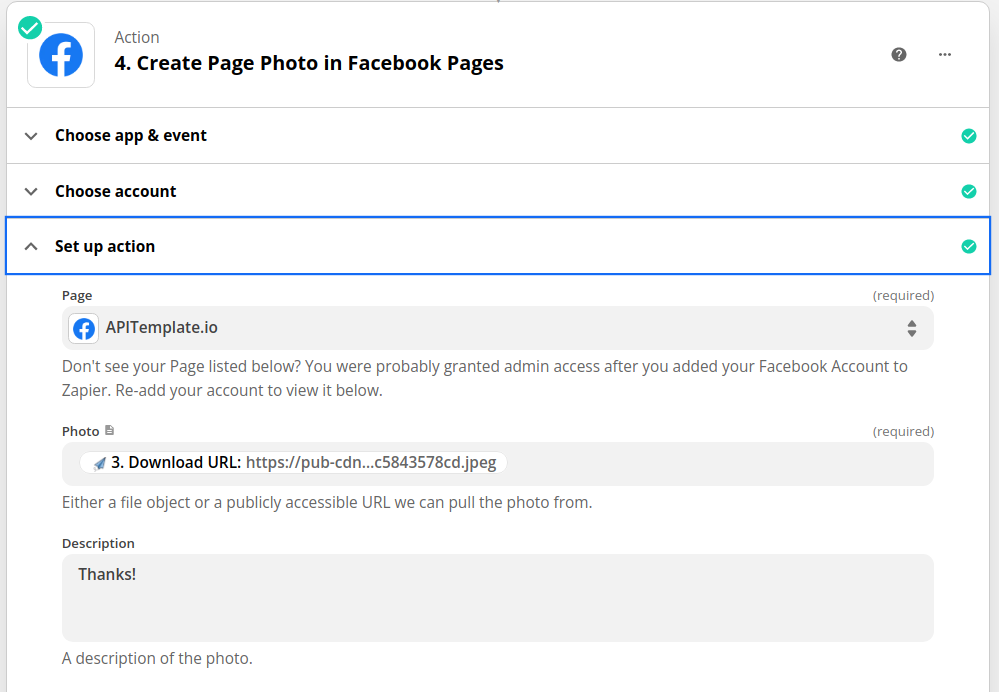
In the Set up action, select your Facebook page. In the photo field, select the image generated by APITemplate.io. You may also enter a description.
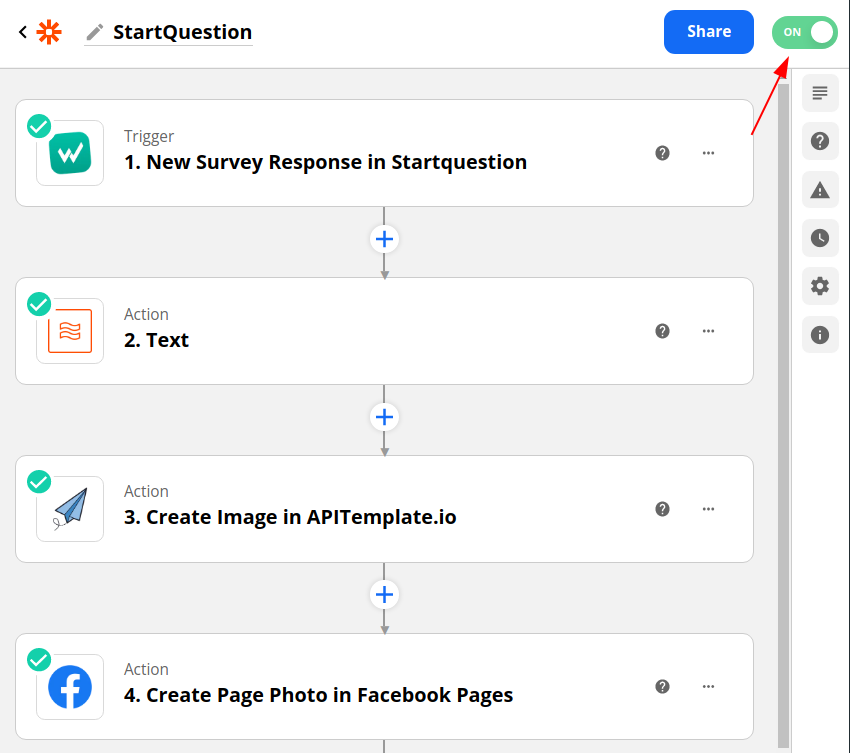
vii. Turn on your Zap
In the upper right of your Zap, click on the ON to toggle the switch. Once your Zap is turned on, Zapier will run the action steps each time an entry is submitted
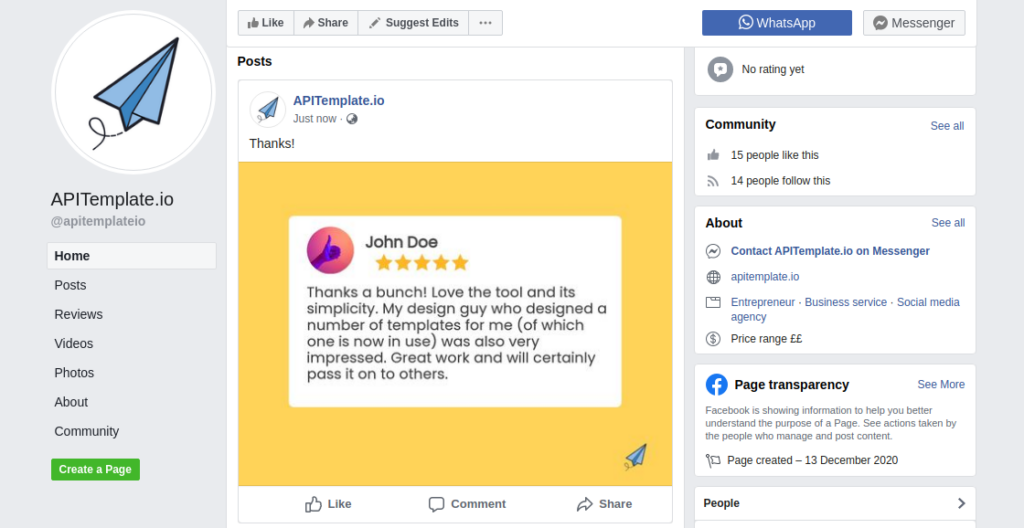
The following is a positive feedback image created by the workflow and shared on the Facebook page.
Conclusion
It’s quite easy to automate surveys and boost your company’s branding using certain tools like above. You just need to set up the triggers once and let the magic of automation do the work for you.
Sharing feedback with your audiences is one of the best ways to stay connected and build a trusted brand image over time. Make sure to leverage all three tools we’ve talked about to the fullest.
Follow these above steps to create and share positive surveys on your organization’s Facebook page with ease.