Invoicing can be a tedious and time-consuming process, especially if you’re doing it manually. But what if there was a way to automate the process and create PDF invoices from an HTML template?
Well, there is!
With APITemplate.io, you can easily create PDF invoices from an HTML template with just a few clicks, automate receipts and financial reports, and streamline invoice creation using your favorite programming language.
In this tutorial, we are going to generate PDF documents from HTML with APITemplate.io PDF generation API and programming languages like Python, C#, and Node.js.
Why use HTML to Create Invoices?
If you’re a web developer and asked to create invoices, what language do you choose? If you’re like most web developers, the answer is HTML.
HTML is the markup language of the web. It’s what tells a web browser how to display the content of a web page. All major web browsers support HTML, and it’s the common language that they use to display web pages.
HTML is an open standard, which means that anyone can use it to create a website. There are no licensing fees or other restrictions on using HTML.
if you need help learning HTML, there’s a wide range of available resources on the Internet. A website like W3School is a great website for beginners. It offers clear and concise tutorials that explain the basics of HTML and how to use it to create web pages.
In other words, HTML is the perfect choice for creating invoices.
What is APITemplate.io and the PDF generation API?
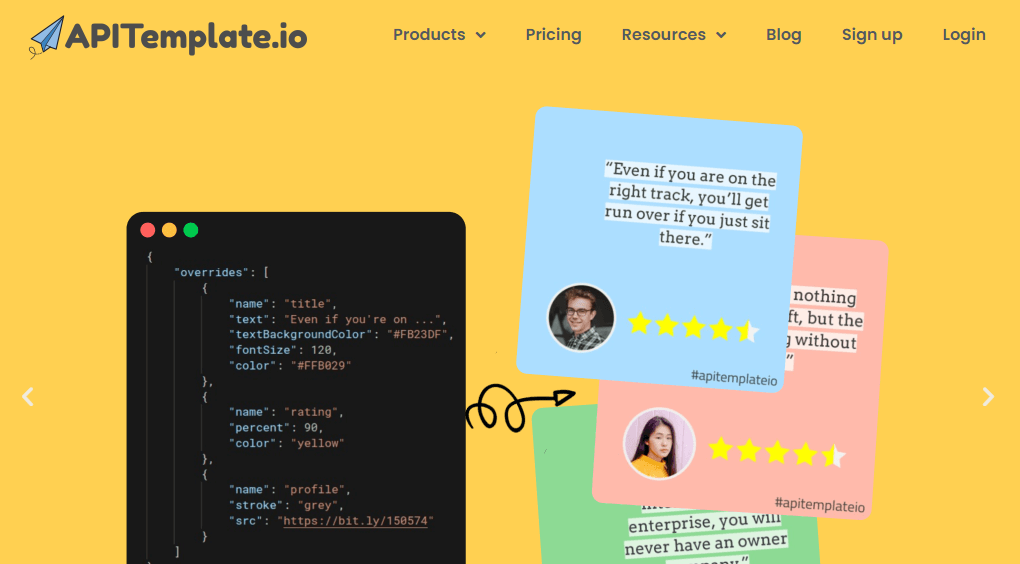
If you’re looking for an easy way to generate PDF documents and images, APITemplate.io is the perfect solution. With APITemplate.io, we can quickly create PDFs and images from reusable templates that can be automated with Zapier, Airtable, Make.com, n8n, UiPath, or REST API.
When it comes to PDF generation, we support technologies like HTML, custom CSS, Javascript, and Jinja2 templating language for you to create dynamic PDF content. We also offer a WYSIWYG editor for those who prefer a more visual approach to template creation.
Click here to learn more about the PDF generation API
The Steps to Generate PDF invoices from HTML
An invoice is a document that businesses send to their customers to request payment for goods or services. An invoice typically contains several important components, such as a description of the goods or services sold, the date of the transaction, the customer’s account information, and the amount due.
Now that we understand what an invoice is and the components that make up an invoice, let’s move on to automate PDF invoice creation with REST API.
The followings are the detailed steps to create PDF documents with APITemplate.io and generate PDFs with Node.js, Python, and C#.
Step 1: Getting Started with APITemplate.io
To get started, simply go to APITemplate.io and click on the Sign-Up button. After creating an account and logging in, you’ll be taken to your account dashboard.
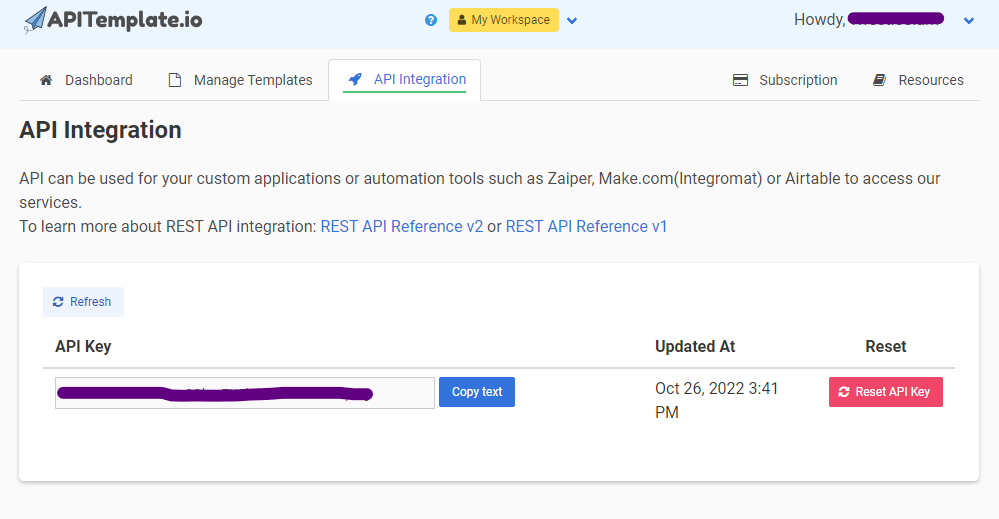
After that, the first thing that you have to do is get the API key. To do that, simply click on the API Integration button on the navigation bar and then copy the API Key. We will use this API Key in our code later.
Step 2: Creating a Template
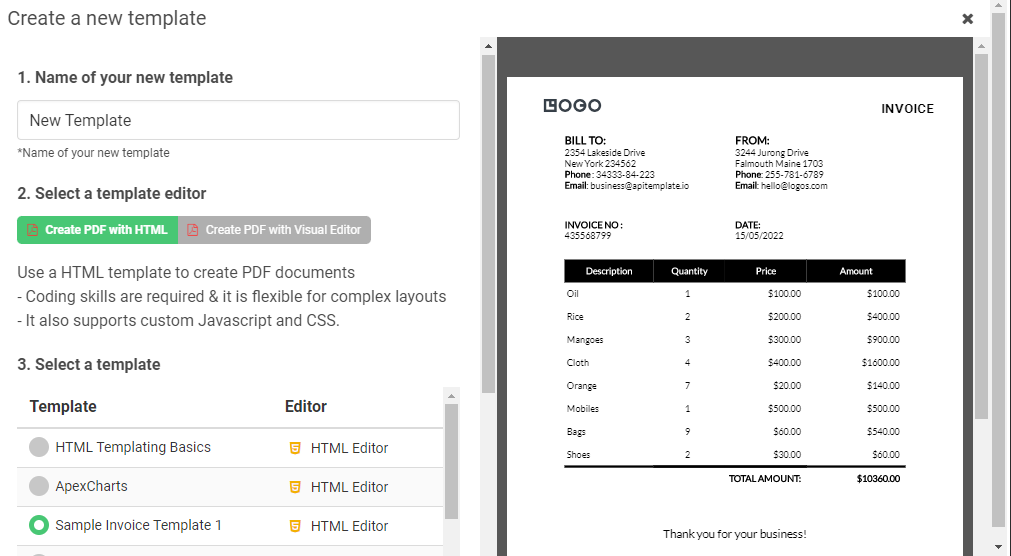
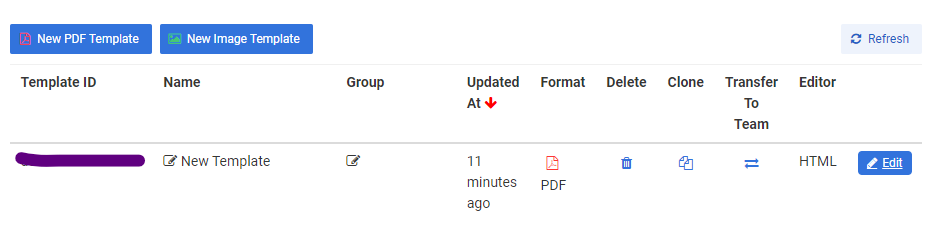
Now, it’s time to create a template for our PDF invoice. To do that, simply click on the Manage Templates button on the navigation bar and then click on the New PDF Template button.
Next, select a predefined template and give it a name. After that, click on the Create button to save the template.
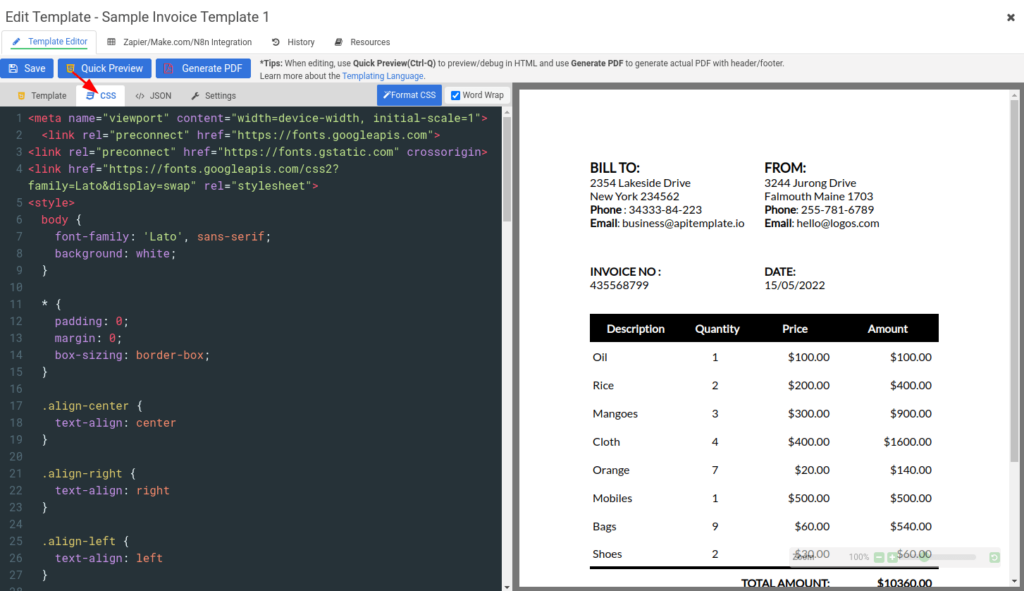
Step 3: Editing HTML Template
Next, you can find the edit button on the right side of the template name on the Manage Templates page.
After clicking on the edit button, you’ll be redirected to the template editor. There are 4 tabs in the template editor: Template, JSON, CSS, and Settings Tab.
Template Tab
The template tab is where you can also edit the HTML content to customize the template to your liking.
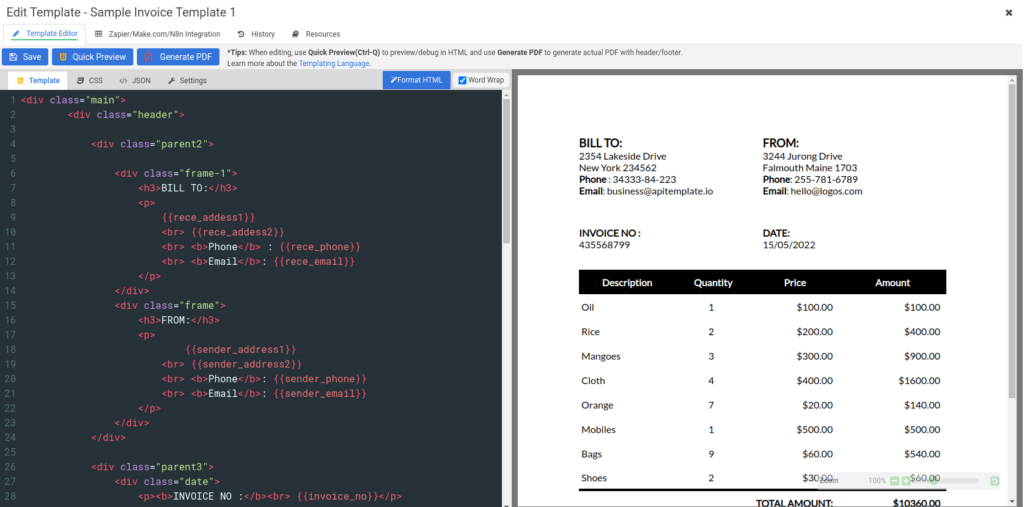
The following is the snippet of Jinja2 to iterate the array items for the item lines. To learn more about Jinja2, click here.
{%for item in items%}
<tr>
    <td class="align-left">{{item.item_name}}</td>
    <td class="align-center">{{item.unit}}</td>
    <td class="align-right">{{ "$%.2f" | format(item.unit_price) }}</td>
    <td class="align-right">{{ "$%.2f" | format(item.unit_price * item.unit) }}</td>
</tr>
{%endfor%}
CSS Tab
The CSS tab is where you can use CSS to customize the invoice template. You may leave it and use the default CSS styles.
Settings Tab
In the Settings tab, you can change the HTML for your header and footer, click here to learn more about how to work with the header and footer. In addition, you can also change the paper size and orientation here. For this tutorial, we are going to use the default settings.
JSON Tab
The JSON tab is the sample JSON for the preview. Remember to click on the Sample JSON tab and copy the JSON data, we’ll use this JSON data in our code later.
Once you’re done modifying the template and CSS styles, click on the Save button to save your changes.
Step 4: Create PDF Invoice
Now that we have our template ready, it’s time to write some code to generate our PDF invoice.
Using Node.js
To create a PDF invoice using Node.js, we will use the below code:
const https = require('https');
const http = require('http');
const { URL } = require('url');

(async () => {
    let resp = await httpPost(
        'https://rest.apitemplate.io/v2/create-pdf?template_id=YOUR_TEMPLATE_ID',
        'YOUR_JSON_DATA',
        'YOUR_API_KEY'
    );
    console.log(resp);
})();


async function httpPost(url_api, data, apiKey){
    const uri = new URL(url_api);
    const fx = uri.protocol === 'https:' ? https : http;
    const opts = {
        method: 'POST',
        hostname: uri.hostname,
        port: uri.port,
        path: `${uri.pathname}${uri.search==null?"":uri.search}`,
        protocol: uri.protocol,
        headers: {
            'Content-Type': 'application/json',
            'Content-Length': data.length,
            "X-API-KEY": apiKey
        }
    };

    return new Promise((resolve, reject) => {
        const req = fx.request(opts, (res) => {
            res.setEncoding('utf8');
            let responseBody = '';
            res.on('data', (chunk) => responseBody += chunk);
            res.on('end', () => resolve(responseBody));
        });

        req.on('error', (err) => reject(err));
        req.write(data)
        req.end();
    });
}
In the above code, we are using the http and https modules to make an HTTP request to the APITemplate API. Next, we are creating an async function called httpPost. This function will take the API URL, the JSON data, and the API Key as parameters.
You can find the API URL and the JSON data in the Sample JSON section of the template editor. In the httpPost function, we are creating an object called opts. This object contains the headers and other information that we need to make an HTTP request.
Next, we are making an HTTP request using the http.request method and passing in the opts object as a parameter. Next, we are setting the encoding of the response to utf8. Then, we are creating a variable called responseBody to store the response from the API.
After that, we are handling the response from the API using the res.on method. Finally, we are returning the responseBody from the function.
Using Python
To create a PDF invoice using Python, we will use the below code:
import requests, json

def main():
    api_key = "YOUR_API_KEY"
    template_id = "YOUR_TEMPLATE_ID"

    data = YOUR_JSON_DATA

    response = requests.post(
        F"https://rest.apitemplate.io/v2/create-pdf?template_id={template_id}",
        headers = {"X-API-KEY": F"{api_key}"},
        json= data
    )

if __name__ == "__main__":
    main()
In the above code, we are first importing the requests module. This module will allow us to make HTTP requests to the APITemplate API. Next, we are defining a main function.
Inside the function, we are creating variables for API Key and the template ID. You can find the API Key and the template ID in the API Integration section of the APITemplate Dashboard. After that, we are creating a variable called data. This variable will store the JSON data that we want to send to the API. You can find the JSON data in the Sample JSON section of the template editor.
Next, we are making an HTTP POST request to the APITemplate API using the requests.post method. We are passing in the API URL, the headers, and the data as parameters. The API URL contains the template ID and can be found in the Sample JSON section of the template editor.
The headers contain the API Key and can be found in the API Integration section of the APITemplate Dashboard.
Using C#
To create a PDF invoice using C#, we will use the below code:
using System;
using System.IO;
using System.Net.Http;
using System.Text.Json;
using System.Threading.Tasks;

namespace csharp
{
    class ReturnContent{
        public string download_url{get;set;}
        public string status{get;set;}
    }

    class Program
    {
        static async Task Main(string[] args)
        {
            var api_key = "YOUR_API_KEY";
            var template_id = "YOUR_TEMPLATE_ID";
            var url = $"https://rest.apitemplate.io/v2/create-pdf?template_id={template_id}";

            var data = new {
                YOUR_JSON_DATA
              };


            var json_content = JsonSerializer.Serialize(data);
            var buffer = System.Text.Encoding.UTF8.GetBytes(json_content);
            var byteContent = new ByteArrayContent(buffer);

            Console.WriteLine(json_content);

            var client = new HttpClient();
            client.DefaultRequestHeaders.Add("X-API-KEY",api_key);
            var response = await client.PostAsync(url,byteContent);
            var ret = await response.Content.ReadAsStringAsync();

            var returnContent = JsonSerializer.Deserialize<ReturnContent>(ret);

            if(returnContent.status=="success"){
                Console.WriteLine($"Downloading {returnContent.download_url}...");
                var download_response = await client.GetAsync(returnContent.download_url);
                using (var stream = await download_response.Content.ReadAsStreamAsync())
                {
                    var fileInfo = new FileInfo("image.jpeg");
                    using (var fileStream = fileInfo.OpenWrite())
                    {
                        await stream.CopyToAsync(fileStream);
                    }
                }
            }
        }
    }
}
In the above code, we are first creating two classes. The first class is called ReturnContent and it contains the download_url and status variables. The second class is called Program and it contains the Main function.
Inside the Main function, we are creating variables for the API Key, template ID, and the API URL. You can find the API Key and the template ID in the API Integration section of the APITemplate Dashboard. The API URL contains the template ID.
After that, we are creating a variable called data. This variable will store the JSON data that we want to send to the API. You can find the JSON data in the Sample JSON section of the template editor.
Next, we are converting the data variable to JSON using the JsonSerializer.Serialize method. Then, we are creating a variable called buffer to store the JSON data.
After that, we are creating an object called byteContent. This object will store the buffer variable.
Then, we are creating an object called client. This object will be used to make an HTTP request to the APITemplate API.
After that, we are making an HTTP POST request to the APITemplate API using the client.PostAsync method. We are passing in the API URL, the byteContent object, and the headers as parameters. The headers contain the API Key.
Then, we are handling the response from the API. If the API returns a status of “success”, we are downloading the PDF invoice from the API using the client.GetAsync method. Finally, we are saving the PDF invoice to our local machine.
Conclusion
In conclusion, automating invoice creation by converting HTML templates into PDFs can significantly streamline your invoicing process. APITemplate.io offers a user-friendly platform that supports various programming languages, including Python, C#, and Node.js, to facilitate this automation.
By leveraging APITemplate.io’s features, such as the WYSIWYG editor and support for custom CSS and JavaScript, you can create dynamic and professional invoices with ease. This approach not only saves time but also reduces the potential for errors associated with manual invoicing.
Ready to enhance your invoicing process? Sign up for APITemplate.io today and experience seamless PDF generation from HTML templates.